

Table of Contents
- Start with Your Story: The Concept Before the Design
- T-shirt Design Ideas for Beginners: Turning a Moment into a Graphic
- Best Software for T-shirt Design: Tools That Match Your Skill Level
- Preparing Your Artwork for Print: File Formats, Resolution, and Color
- Choosing the Right Printing Method for Your Design
- How to Design Customisable Sweatshirts and Other Garment Types
- Copyright and Sustainability: What Else You Need to Know
- Conclusion
- Frequently Asked Questions
Last Updated: October 1, 2026
Start with Your Story: The Concept Before the Design
The best custom shirts start with a story, not a sketchbook. At O'MEA™, the strongest designs come from one moment you can't stop retelling, the buck that stepped out at 20 yards and vanished, or the putt that lipped the cup on the 18th. That moment is your design brief.
Here's how to turn it into something worth wearing:
- Write the moment in two sentences: who, where, what went wrong.
- Pull out the funniest detail, that's your visual hook.
- Decide the tone: proud, sheepish, or laughing at yourself.
- Pick one moment only. A shirt with three jokes reads as noise.
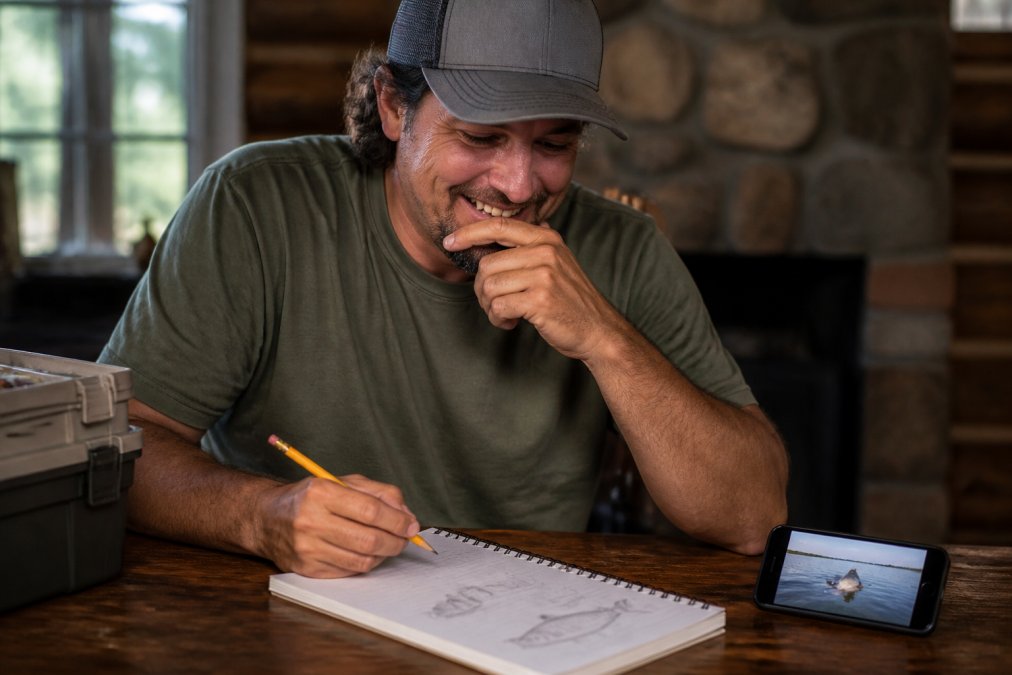
T-shirt Design Ideas for Beginners: Turning a Moment into a Graphic
Simple scenes beat complicated ones. A silhouette of a fish, a bent golf club, a treestand at dawn: these read instantly.
Start with these beginner-friendly directions:
- A single object that tells the whole story
- A short caption in your own words
- A date or location only you and your friends understand
- A simple before-and-after layout
Viewers get three seconds with your shirt. Give them one clear image and one punchy line.
Sketching Your Scene: From Memory to Rough Draft
Rough drafts are supposed to look bad. Your first sketch tests the layout, not your drawing skill.
Try this order:
- Draw a rectangle the shape of your shirt's back panel.
- Block in the main object as a simple shape.
- Add your text where it won't crowd the image.
- Step back and check if the story reads at a glance.
If you can't tell what's happening from six feet away, simplify.
Best Software for T-shirt Design: Tools That Match Your Skill Level
The best software for t-shirt design is the one you'll actually finish a project in. Free tools handle a simple scene well; paid options only matter once you've outgrown them.
Here's how the main categories compare:
| Option | Skill Level | Best For | Watch Out For |
|---|---|---|---|
| Free online design studios | Beginner | Simple text and clipart layouts | Limited font and color control |
| Free vector editors | Intermediate | Clean logos and scalable art | Steeper learning curve |
| Paid design software | Advanced | Full creative control | Cost before you need the power |
Start free, and upgrade only when a specific project demands it.
Free vs. Paid: What You Actually Get
Free tools give you templates, basic text effects, and enough fonts to start. Paid tools add precision: custom color palettes, exact print placement, and vector export.
Unless you're designing for a business, free is usually enough.
Preparing Your Artwork for Print: File Formats, Resolution, and Color
Print-ready artwork needs three things: the right file format, enough resolution, and the right color mode. Get these wrong and your design looks fuzzy, dull, or off-color.
- File format: Vector files (SVG, EPS, AI) scale cleanly. Raster files (PNG, JPG) work if they're large enough.
- Resolution: Aim for 300 DPI at final print size. Screenshots and social media images are usually too small.
- Color mode: Design in CMYK for print. RGB colors often shift when printed.
- Transparency: Use a transparent background so your design sits cleanly on the fabric.
Pixel dimensions matter more than file size: a 500-pixel-wide image stretched across a shirt back looks soft and blurry.
Choosing the Right Printing Method for Your Design
The printing method decides how your design feels and how long it lasts.
The Decision That Actually Matters: Quantity vs. Color Count
For a one- or two-color design, the DTG/screen printing crossover lands in the low dozens: below that, setup cost dominates; above it, per-unit ink and labor dominate.
What Each Method Costs You Beyond the Print
- Setup or screen fees: Screen printing charges per color per screen, usually one-time per order. Reorders often waive or reduce it if screens are kept on file.
- Minimums: Screen printing typically has a minimum; DTG and DTF usually don't. Embroidery minimums vary by shop.
- Artwork prep: Vector cleanup, color separation, and embroidery digitizing are separate charges at many shops. Ask before approving a quote.
- Garment cost: A heavyweight ring-spun tee costs more than basic cotton, and that gap often exceeds the printing difference.
- Rush fees: Anything under standard turnaround usually carries a surcharge.
How to Choose in Five Minutes
- Count your shirts. Under a dozen? Go DTG or DTF.
- Count your colors. More than four? Lean DTG or DTF regardless of quantity.
- Check the garment. Ask the printer what they recommend for your blank.
- Ask for the all-in quote, not the per-print price.
- Order one sample before a bulk run.
Durability and Feel, by Method
For a single custom shirt with a detailed scene, DTG or DTF wins. For 50 identical one-color shirts, screen printing saves money. For a logo on a hoodie you'll wear for years, embroidery is the answer.
How to Design Customisable Sweatshirts and Other Garment Types
The same story works across garments, but layout, print area, and file prep change with each one. Getting this wrong is why a design that looked great on screen looks wrong on the shirt.
Print Areas by Garment
- T-shirts: Full back panel available, roughly 12 by 16 inches on an adult large. Front chest is smaller, usually around 11 by 11 inches. Great for detailed scenes.
- Hoodies: The hood and pouch break up the back, and drawstrings sit where a tall design wants to go. Keep back art higher and simpler, or move the main graphic to the chest. The pouch works for small marks.
- Long sleeves: A narrower canvas. Move text to the sleeve or chest, and keep back art vertical rather than wide.
Fabric Weight and Color Change Everything
Heavier fabrics hold ink better and drape more cleanly, which matters for larger designs. But garment color matters more:
Troubleshooting the Five Most Common Design Mistakes
Here's what goes wrong, and how to catch it before you order.
1. Pixelation and blur. A raster image stretched beyond its native resolution looks soft and jagged. At 300 DPI, a 12-inch-wide print needs roughly 3,600 pixels across, screenshots and social images rarely clear that bar. Fix: recreate the art as a vector, or find a higher-resolution source.
2. Color shift. RGB colors often print duller or darker in CMYK, and neon or metallic inks can't be matched exactly. Fix: design in CMYK, request a physical proof for color-critical work, and accept that some hues are out of gamut.
3. Poor contrast. Light text on a light garment, or a busy image behind a caption, disappears at arm's length. Fix: view your design at thumbnail size. If the message doesn't read, increase contrast or add a solid shape behind the text.
4. Color bleeding and halos. On dark garments, a white underbase that isn't perfectly aligned leaves a faint outline around the art. Fix: ask the printer how they handle trapping and underbase on dark shirts, and check a sample.
5. Text that's too small or too thin. Thin strokes and small serif fonts fill in or break up, especially in embroidery and screen printing. Fix: keep text at least a quarter-inch tall, use a bold sans-serif, and avoid hairline strokes.
Placement Rules That Save You a Reprint
- Center chest prints sit roughly 3 to 4 inches below the collar seam.
- Left-chest prints sit about 7 to 9 inches down from the shoulder seam, aligned with the wearer's left side.
- Full back prints start a few inches below the collar and stop above the hem so the shirt can still be tucked.
- Sleeve prints need to clear the seam and stay within the printable panel.
Ask your printer for their standard placement specs before finalizing the file. Every shop has slightly different tolerances, and matching theirs avoids a surprise on delivery.
This is where O'MEA™ keeps things simple. You choose tees, long sleeves, or hoodies, and your story goes on the back with a small O'MEA™ logo on the front.
Copyright and Sustainability: What Else You Need to Know
Two things trip up first-time designers: using art that isn't theirs, and ignoring how a shirt is made.
Conclusion
Designing a shirt around a real story is harder than picking a template, but it's the difference between clothing and a keepsake. Start with the moment, sketch it simply, and let the printing method follow.
Frequently Asked Questions
How do I make custom shirts myself?
Start by writing down the story you want to tell. Sketch a rough layout on paper, then move to a design tool. Choose a garment, pick a print placement, and upload your artwork. Most platforms guide you through mockups before ordering. The key is preparing your file correctly so the final print matches what you see on screen.
What file format is best for custom shirt printing?
Always check the printer's guidelines, as some methods require specific formats.
Can ChatGPT make t-shirt designs?
ChatGPT can generate text ideas, slogans, or layout suggestions, but it cannot create print-ready artwork. You still need design software to build the graphic, adjust resolution, and export a proper file. Use AI for brainstorming phrases or scene descriptions, then bring those ideas into a real design tool. For custom scenes, like a specific hunting moment, you'll need to sketch or commission the artwork yourself.
How do I choose the right fabric for custom apparel?
Always request a sample or check reviews for how the fabric holds up after washing.
Leave a comment